
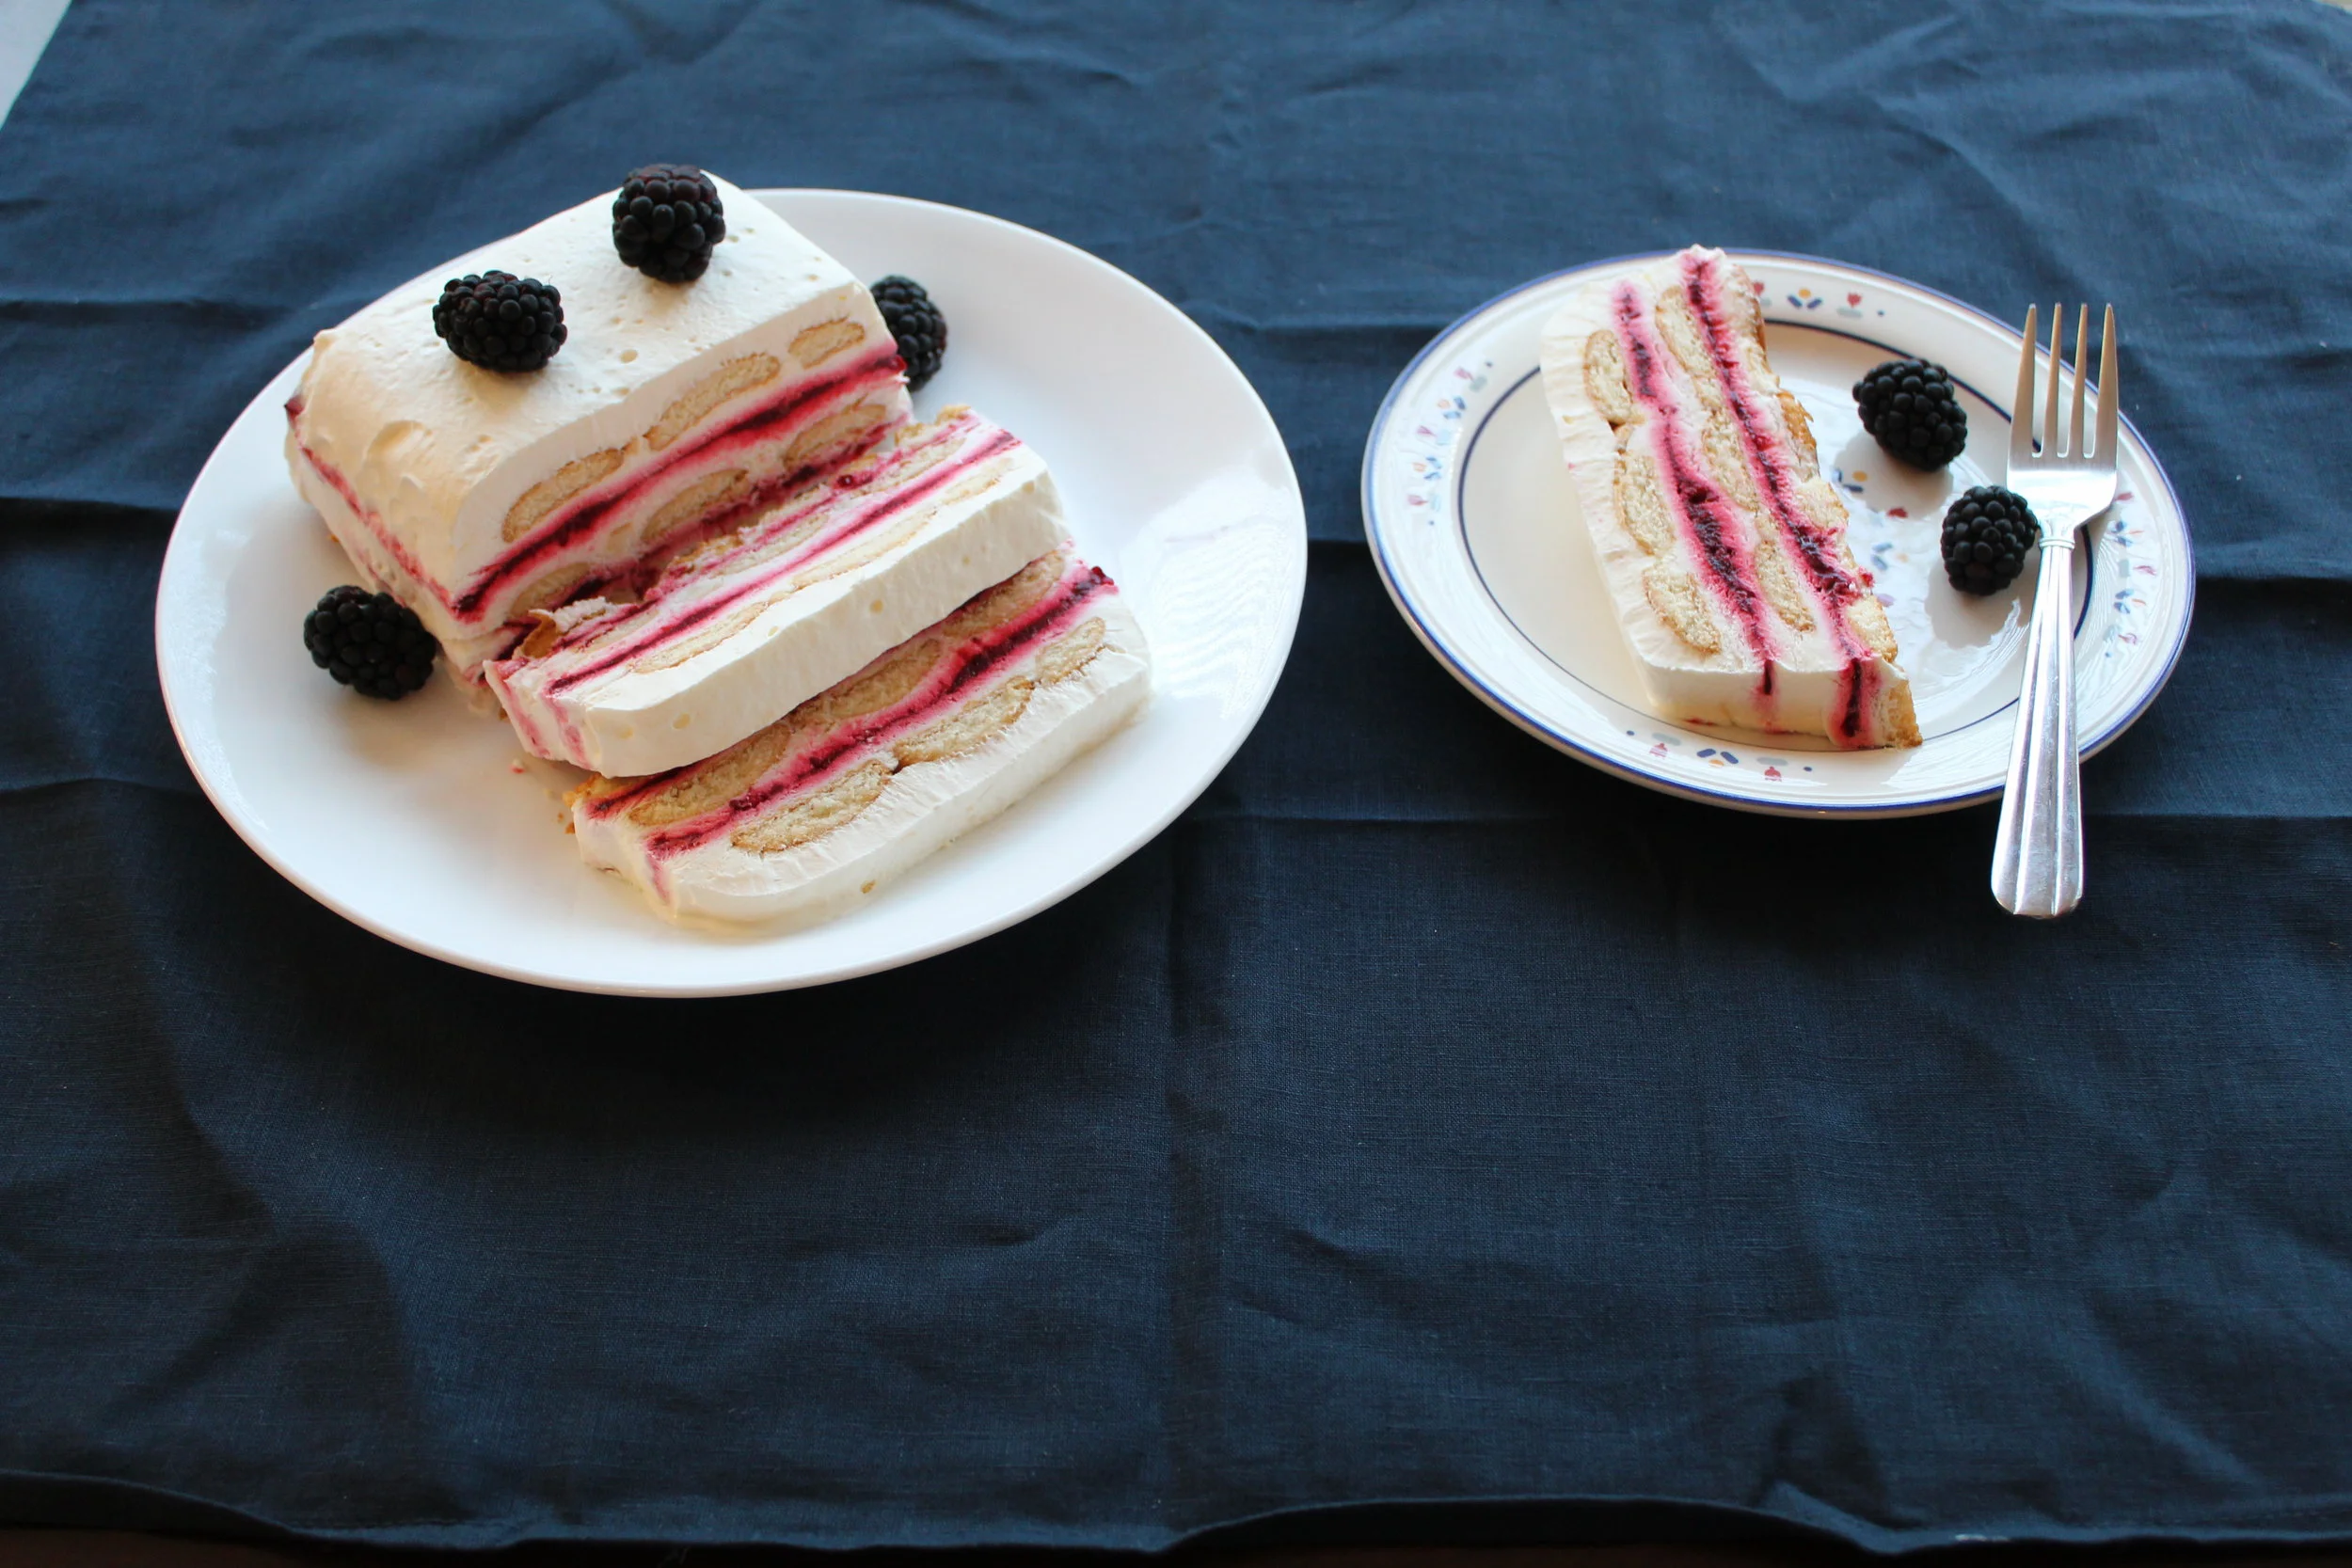
My first experience with an icebox cake was back in elementary school. It was a traditional ice box cake called a zebra log cake. When I first saw the classic zebra cake, I thought it was the coolest thing ever. You pretty much made the cake by layering chocolate wafer cookies and whipped cream, alternating between each layer until you created a cool layered cookies and cream dessert. The cake is stashed in the refrigerator for a couple hours before serving. When the cake is removed from the refrigerator, you sliced into it diagonally and see layers of cookies and cream resembling the stripes on a zebra. The zebra cake was also one of the first desserts I ever made. I loved whipping up the cream, preparing the cookies, and layering all of the parts until I created a ginormous log cake. Over the years, I still make the zebra cake occasionally when I’m cravings a quick-ish dessert. I tend to make it during the warmer months as a way to avoid turning on the oven. Earlier this week, when I started meal planning, I wanted to make a simple no bake icebox cake to serve for dessert over the weekend. I also wanted to incorporate colors into the cake so I decided to make a blackberry lemon icebox cake. The main reason for choosing blackberries and lemon was because I wanted to make a maize and blue dessert to celebrate the success of Michigan’s football season so far. For the dessert, instead of using chocolate wafer cookies, I used vanilla wafer cookies to add a nice color and flavor contrast to the blackberries. I also cooked down the blackberries using the juice of a whole lemon and added some sugar to sweeten up the jam. My favorite part of making an icebox cake is assembling all of the parts into a whole. I really wanted the colors of the different parts of the cake to shine through so I strategically layered the vanilla wafers, blackberry jam, and whipped cream. The end result was both visually stunning and absolutely delightful.
Blackberry Lemon Icebox Cake
· 6-ounce carton of blackberries
· 1 lemon, zested and juiced
· ¼ cup fine sugar
· Pint of heavy whipping cream
· 4 teaspoons fine sugar
· 11-ounce box of vanilla wafers
· (Optional) additional fresh blackberries for decorating
Directions:
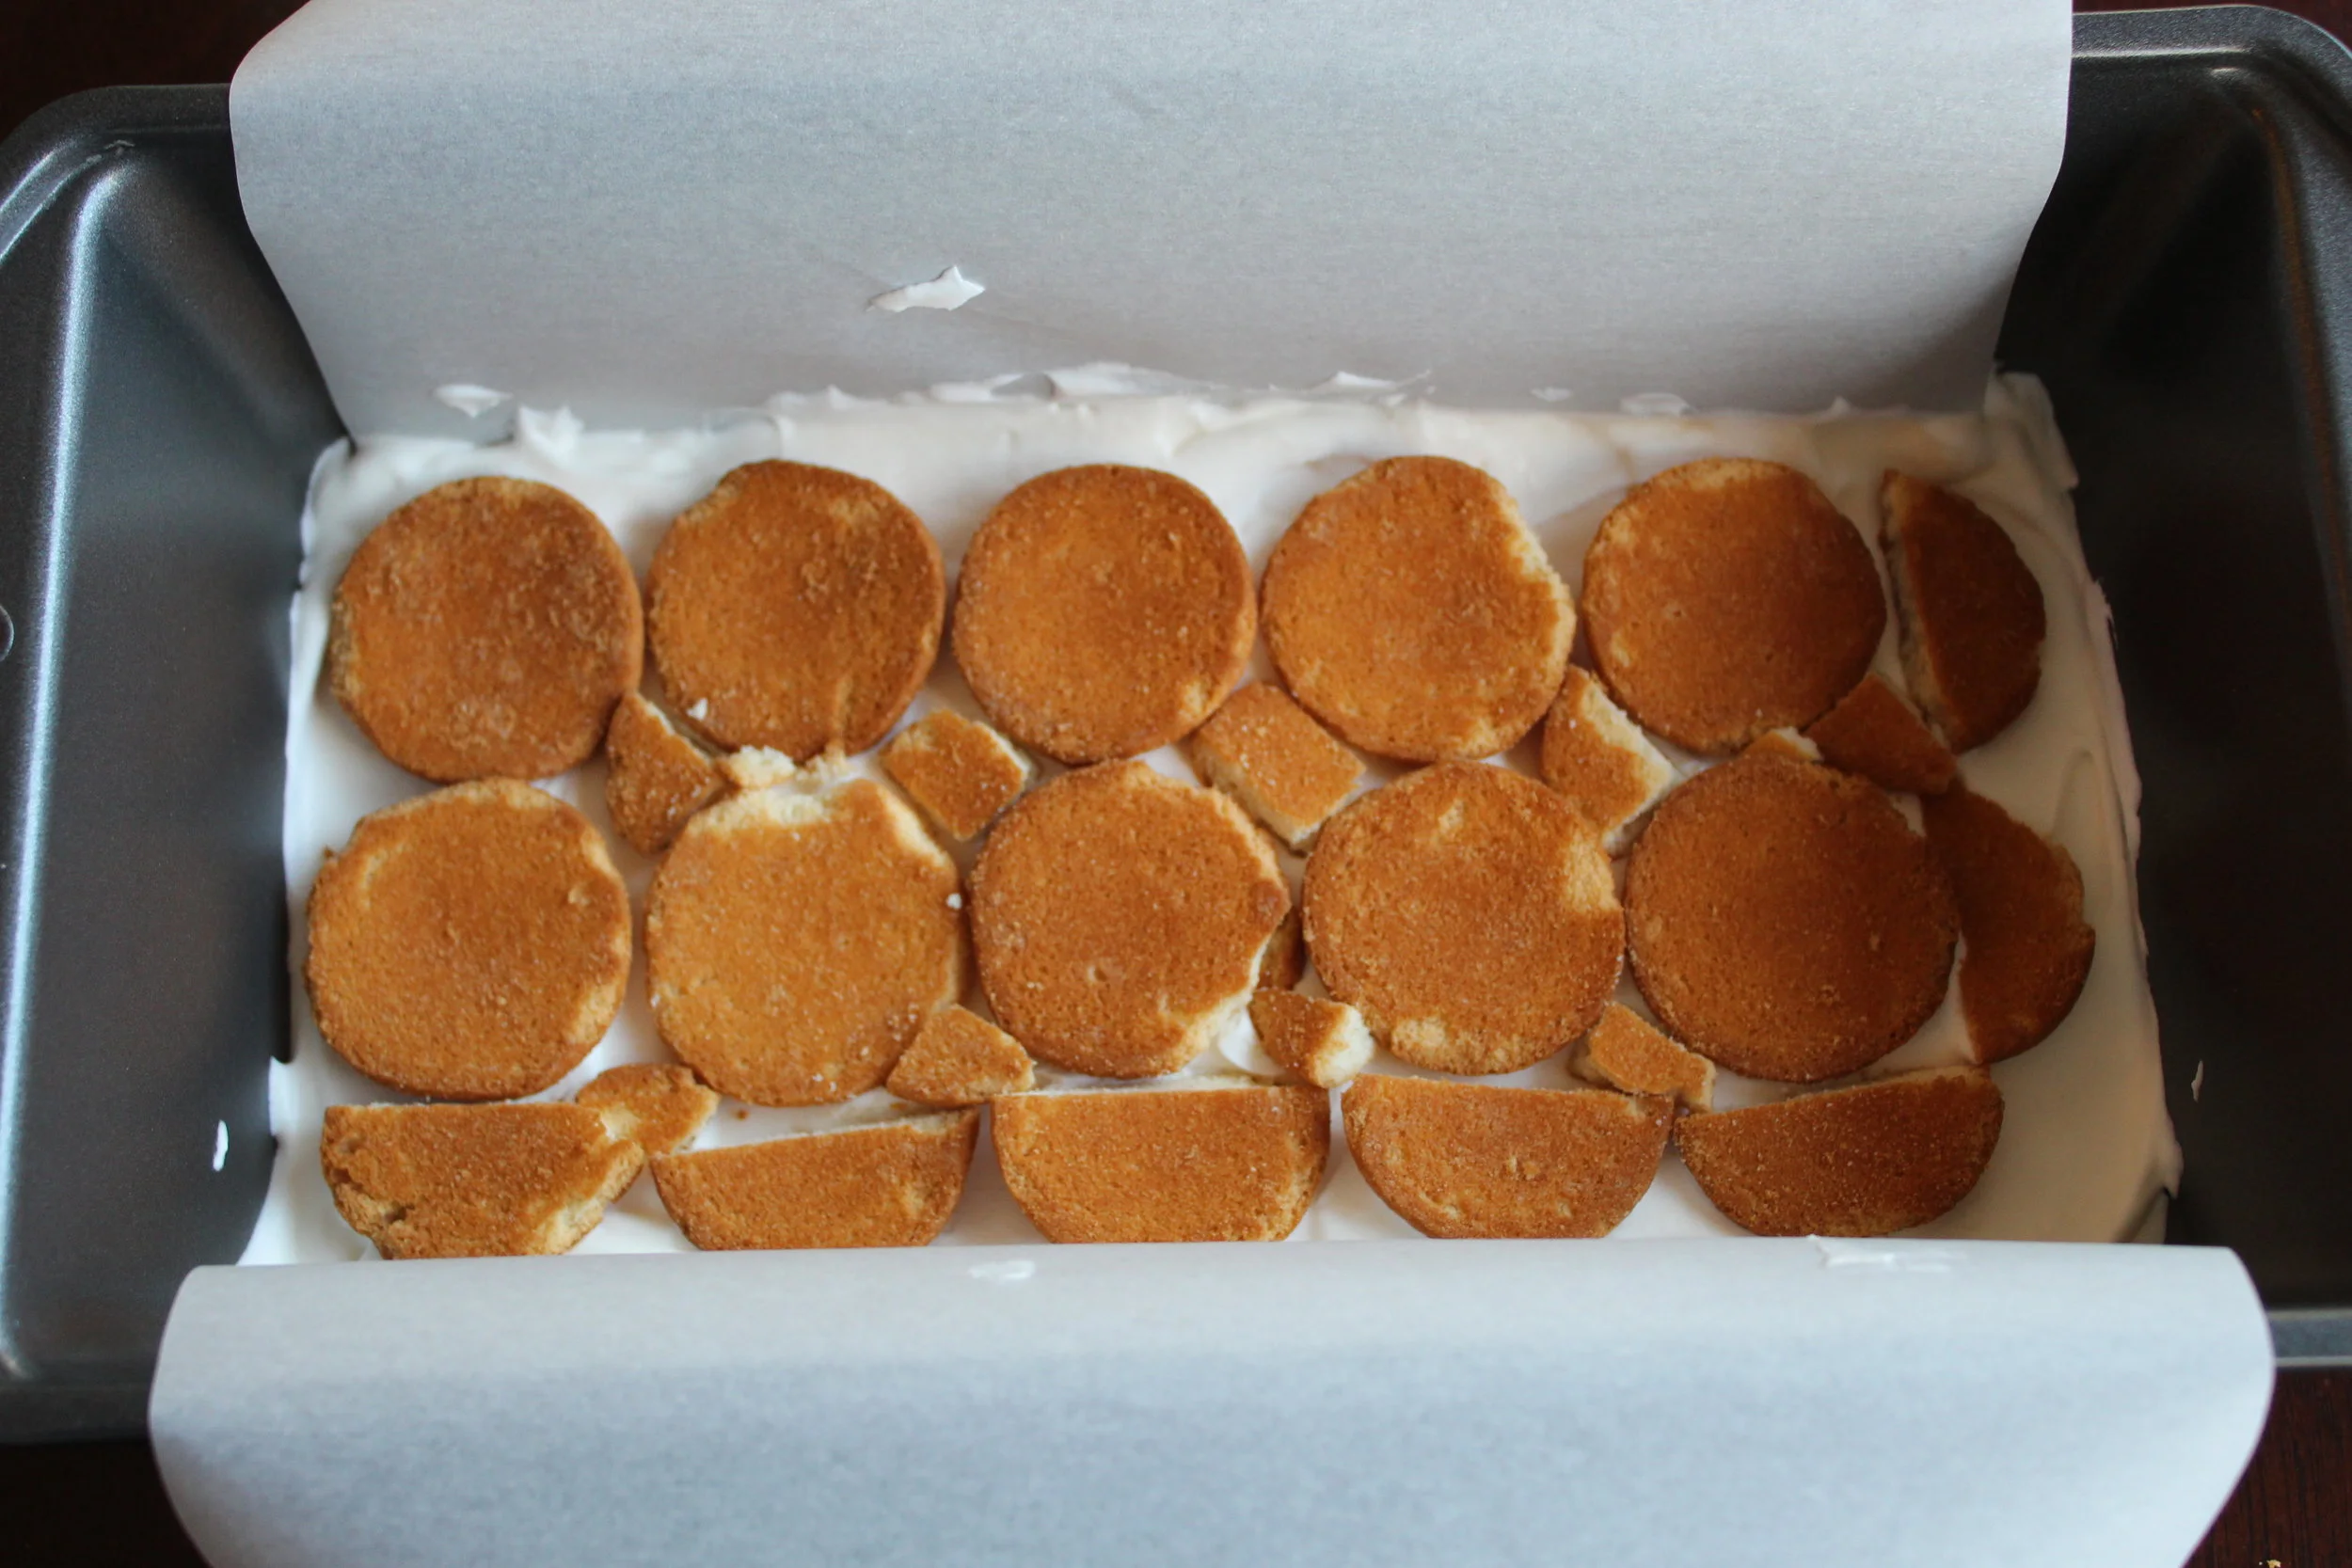
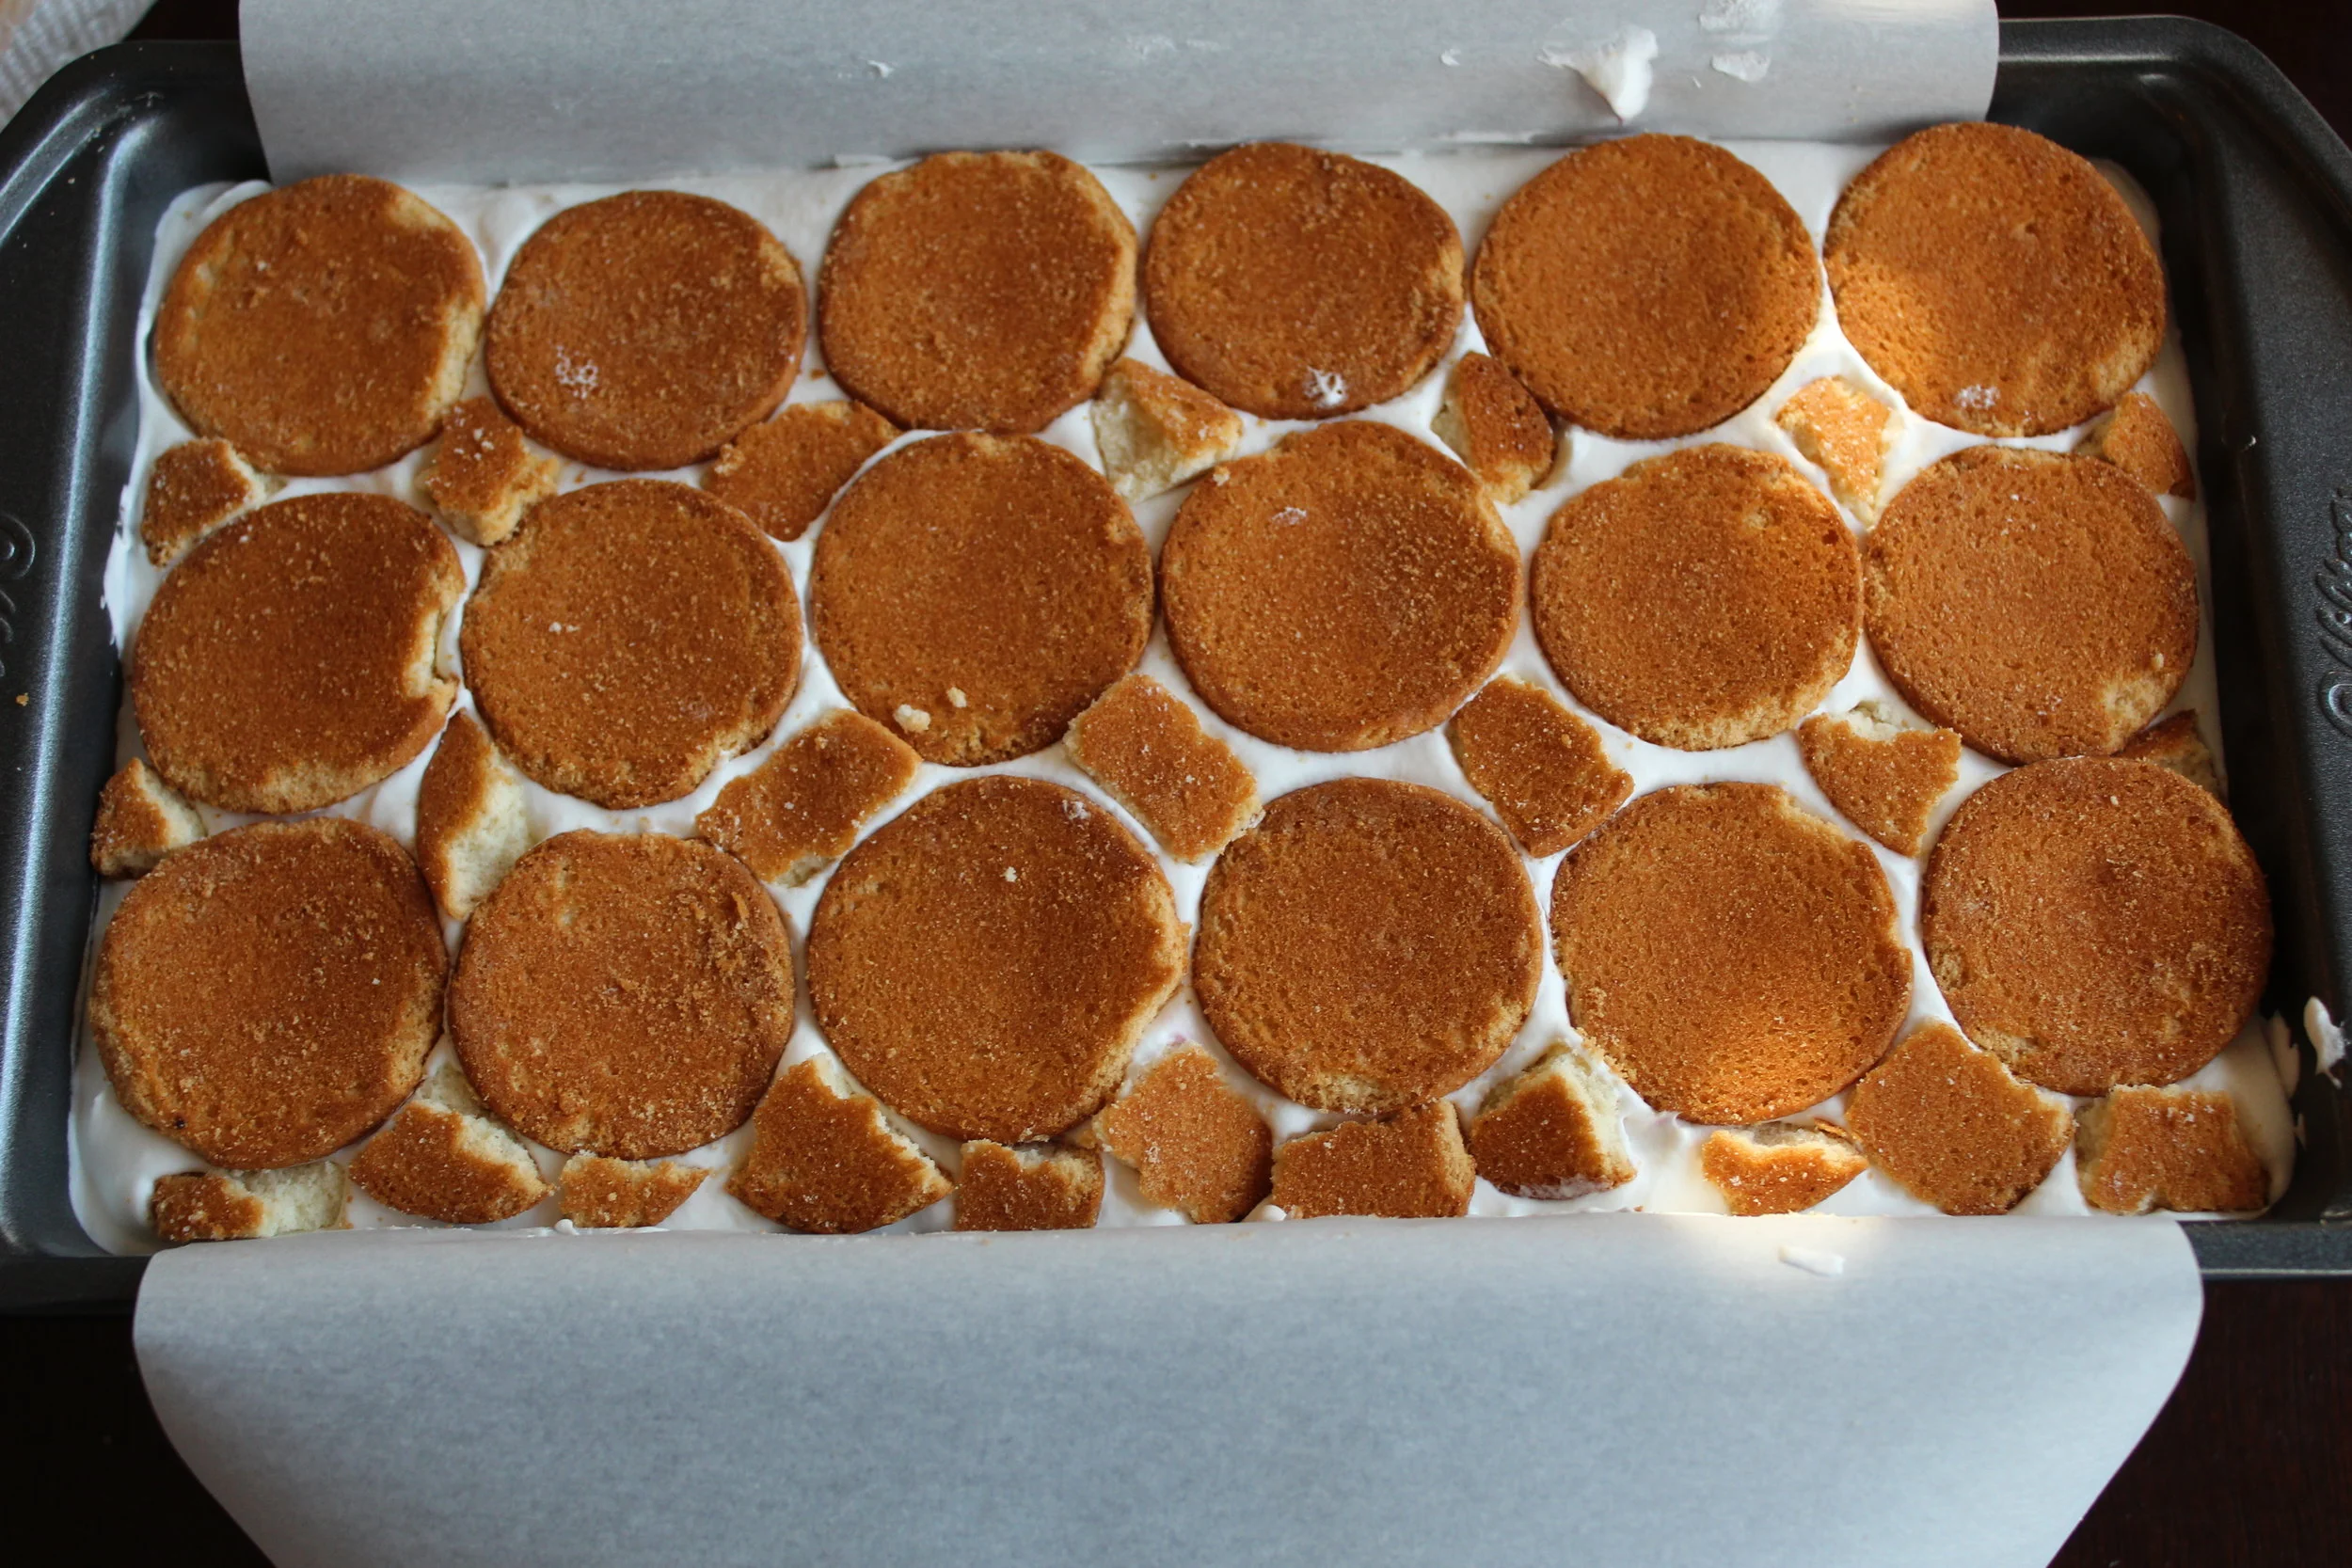
1) Line a loaf pan with enough parchment paper to hang over the two longer sides of the loaf pan. Set aside.
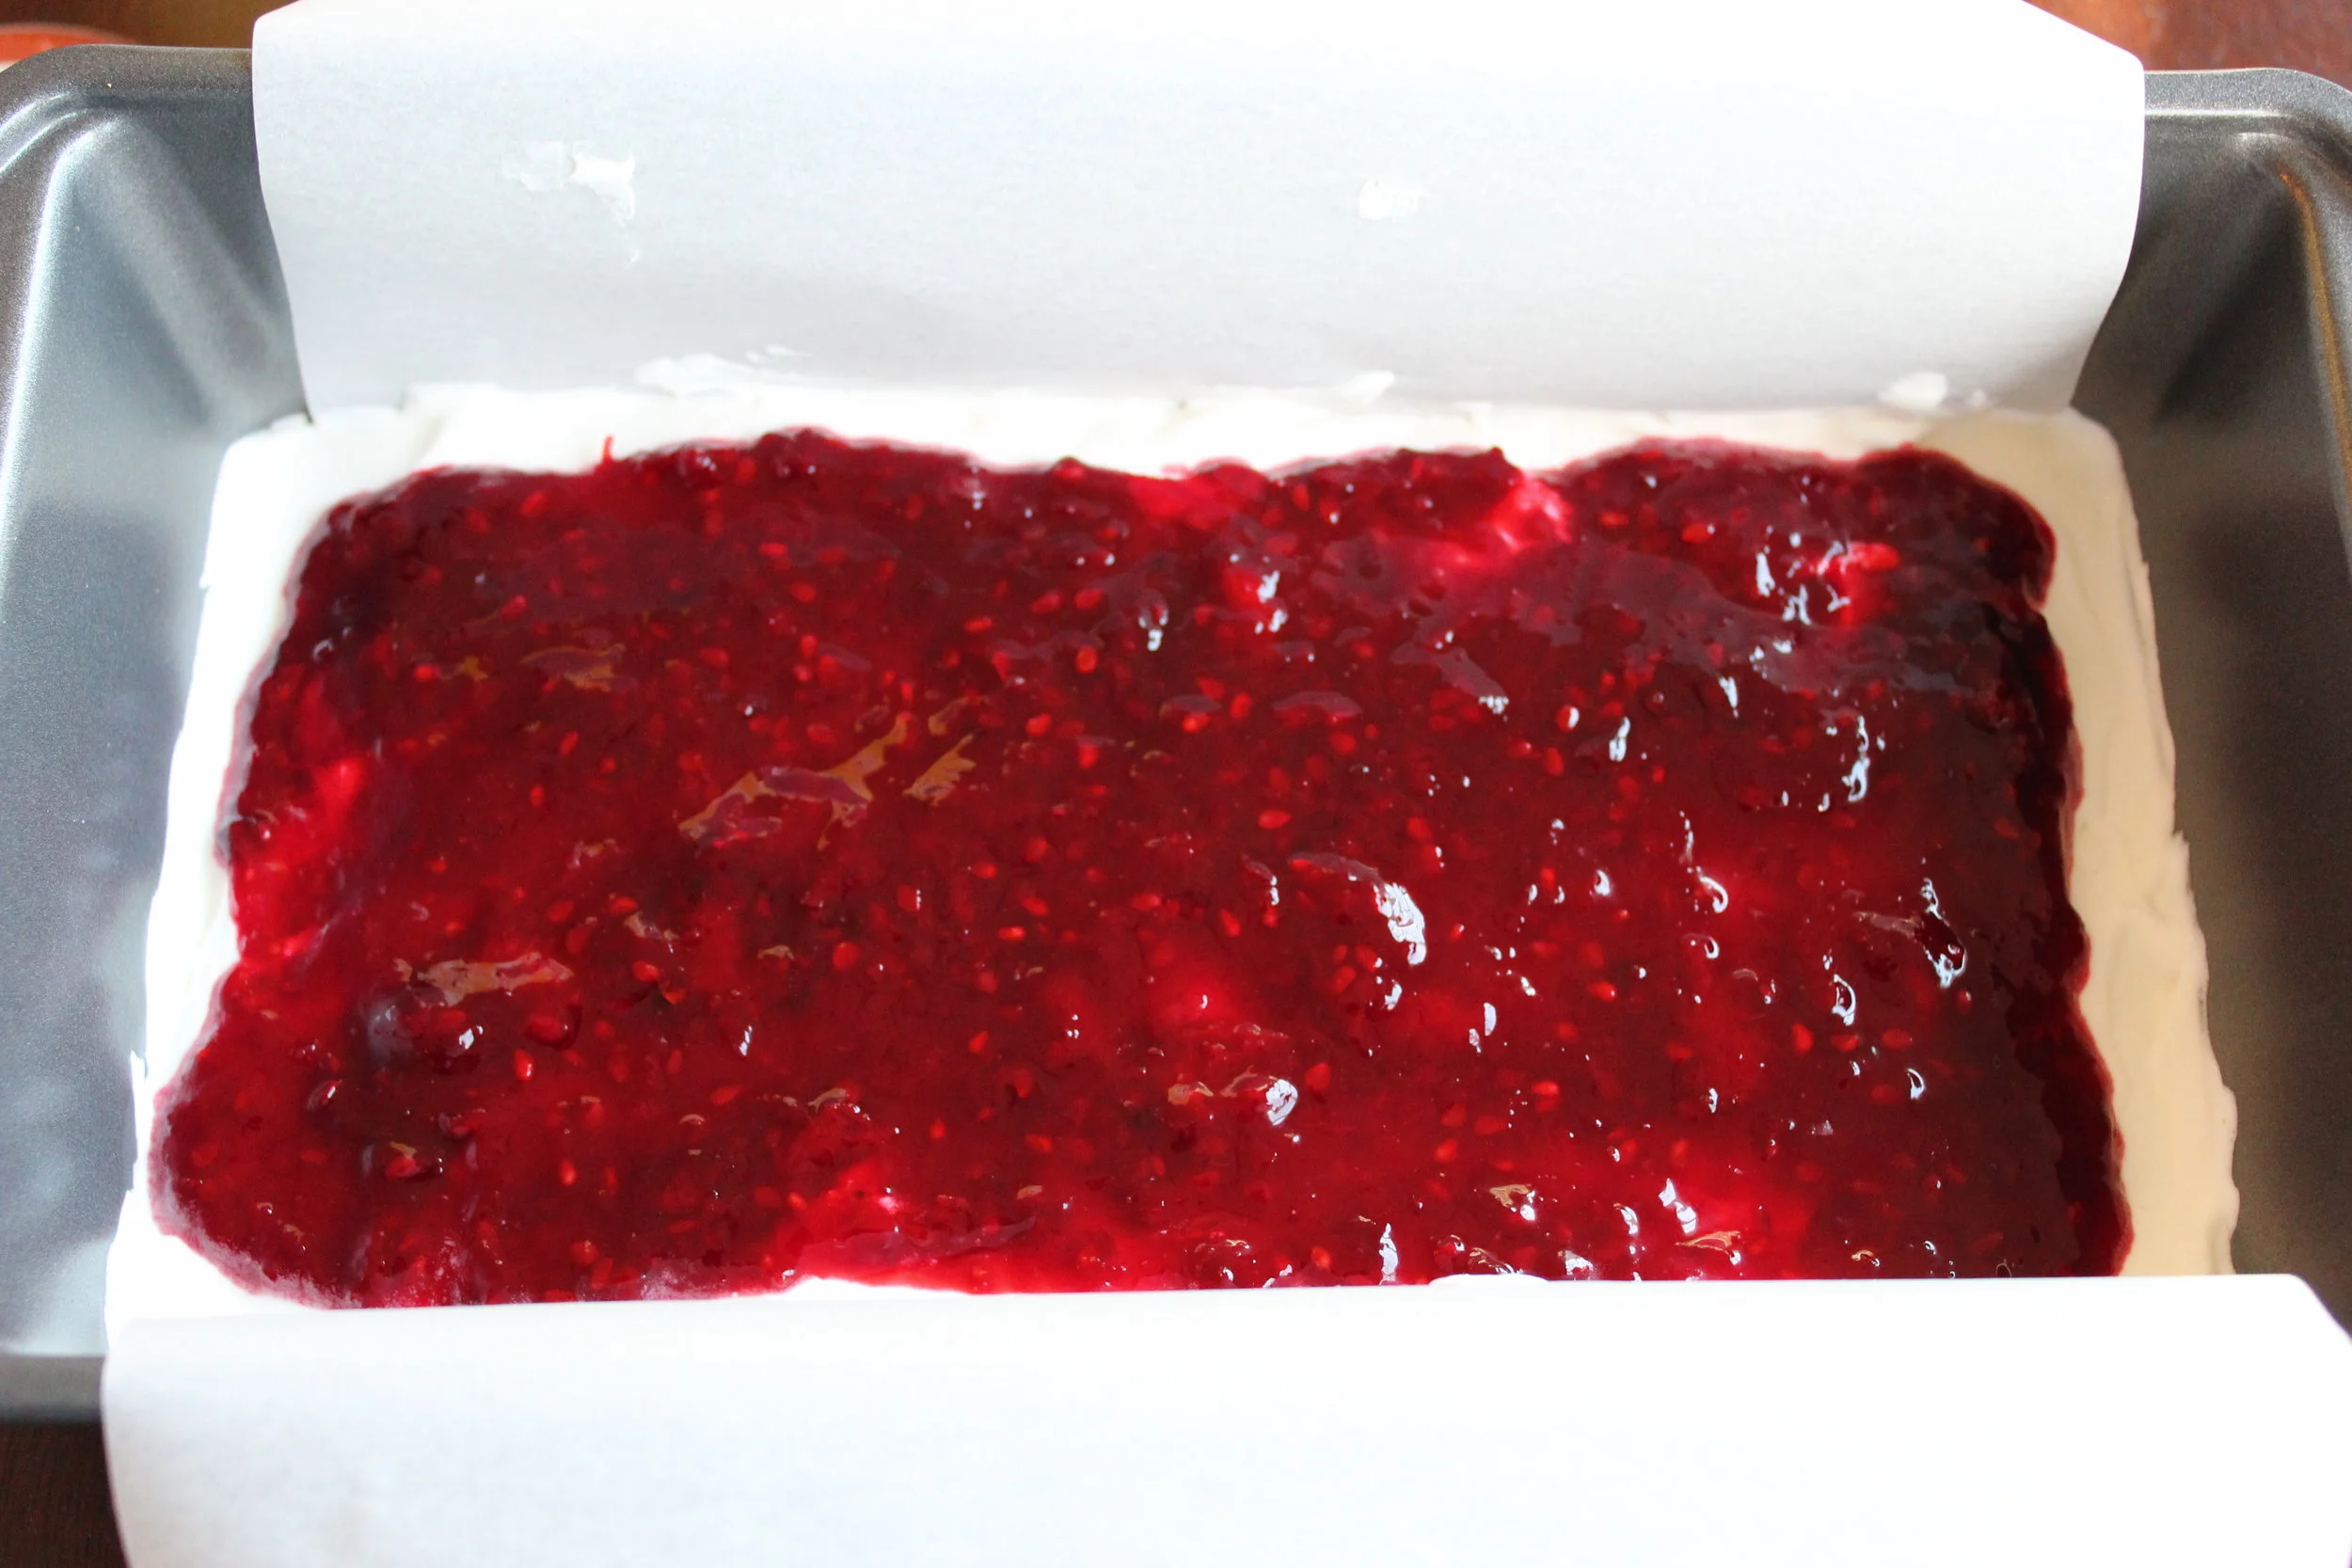
2) To make the blackberry jam, heat a saucepan on medium heat. Add the carton of blackberries into the saucepan. Add the juice of the whole lemon into the saucepan. Stir in ¼ cup of sugar. Cook the blackberries until they start to break down, about 10 minutes. Pour the mixture into a glass jar. Fold in the lemon zest. Chill the jam in the refrigerator until ready to use. The jam will still be runny at this point, but will thicken up as it cools.
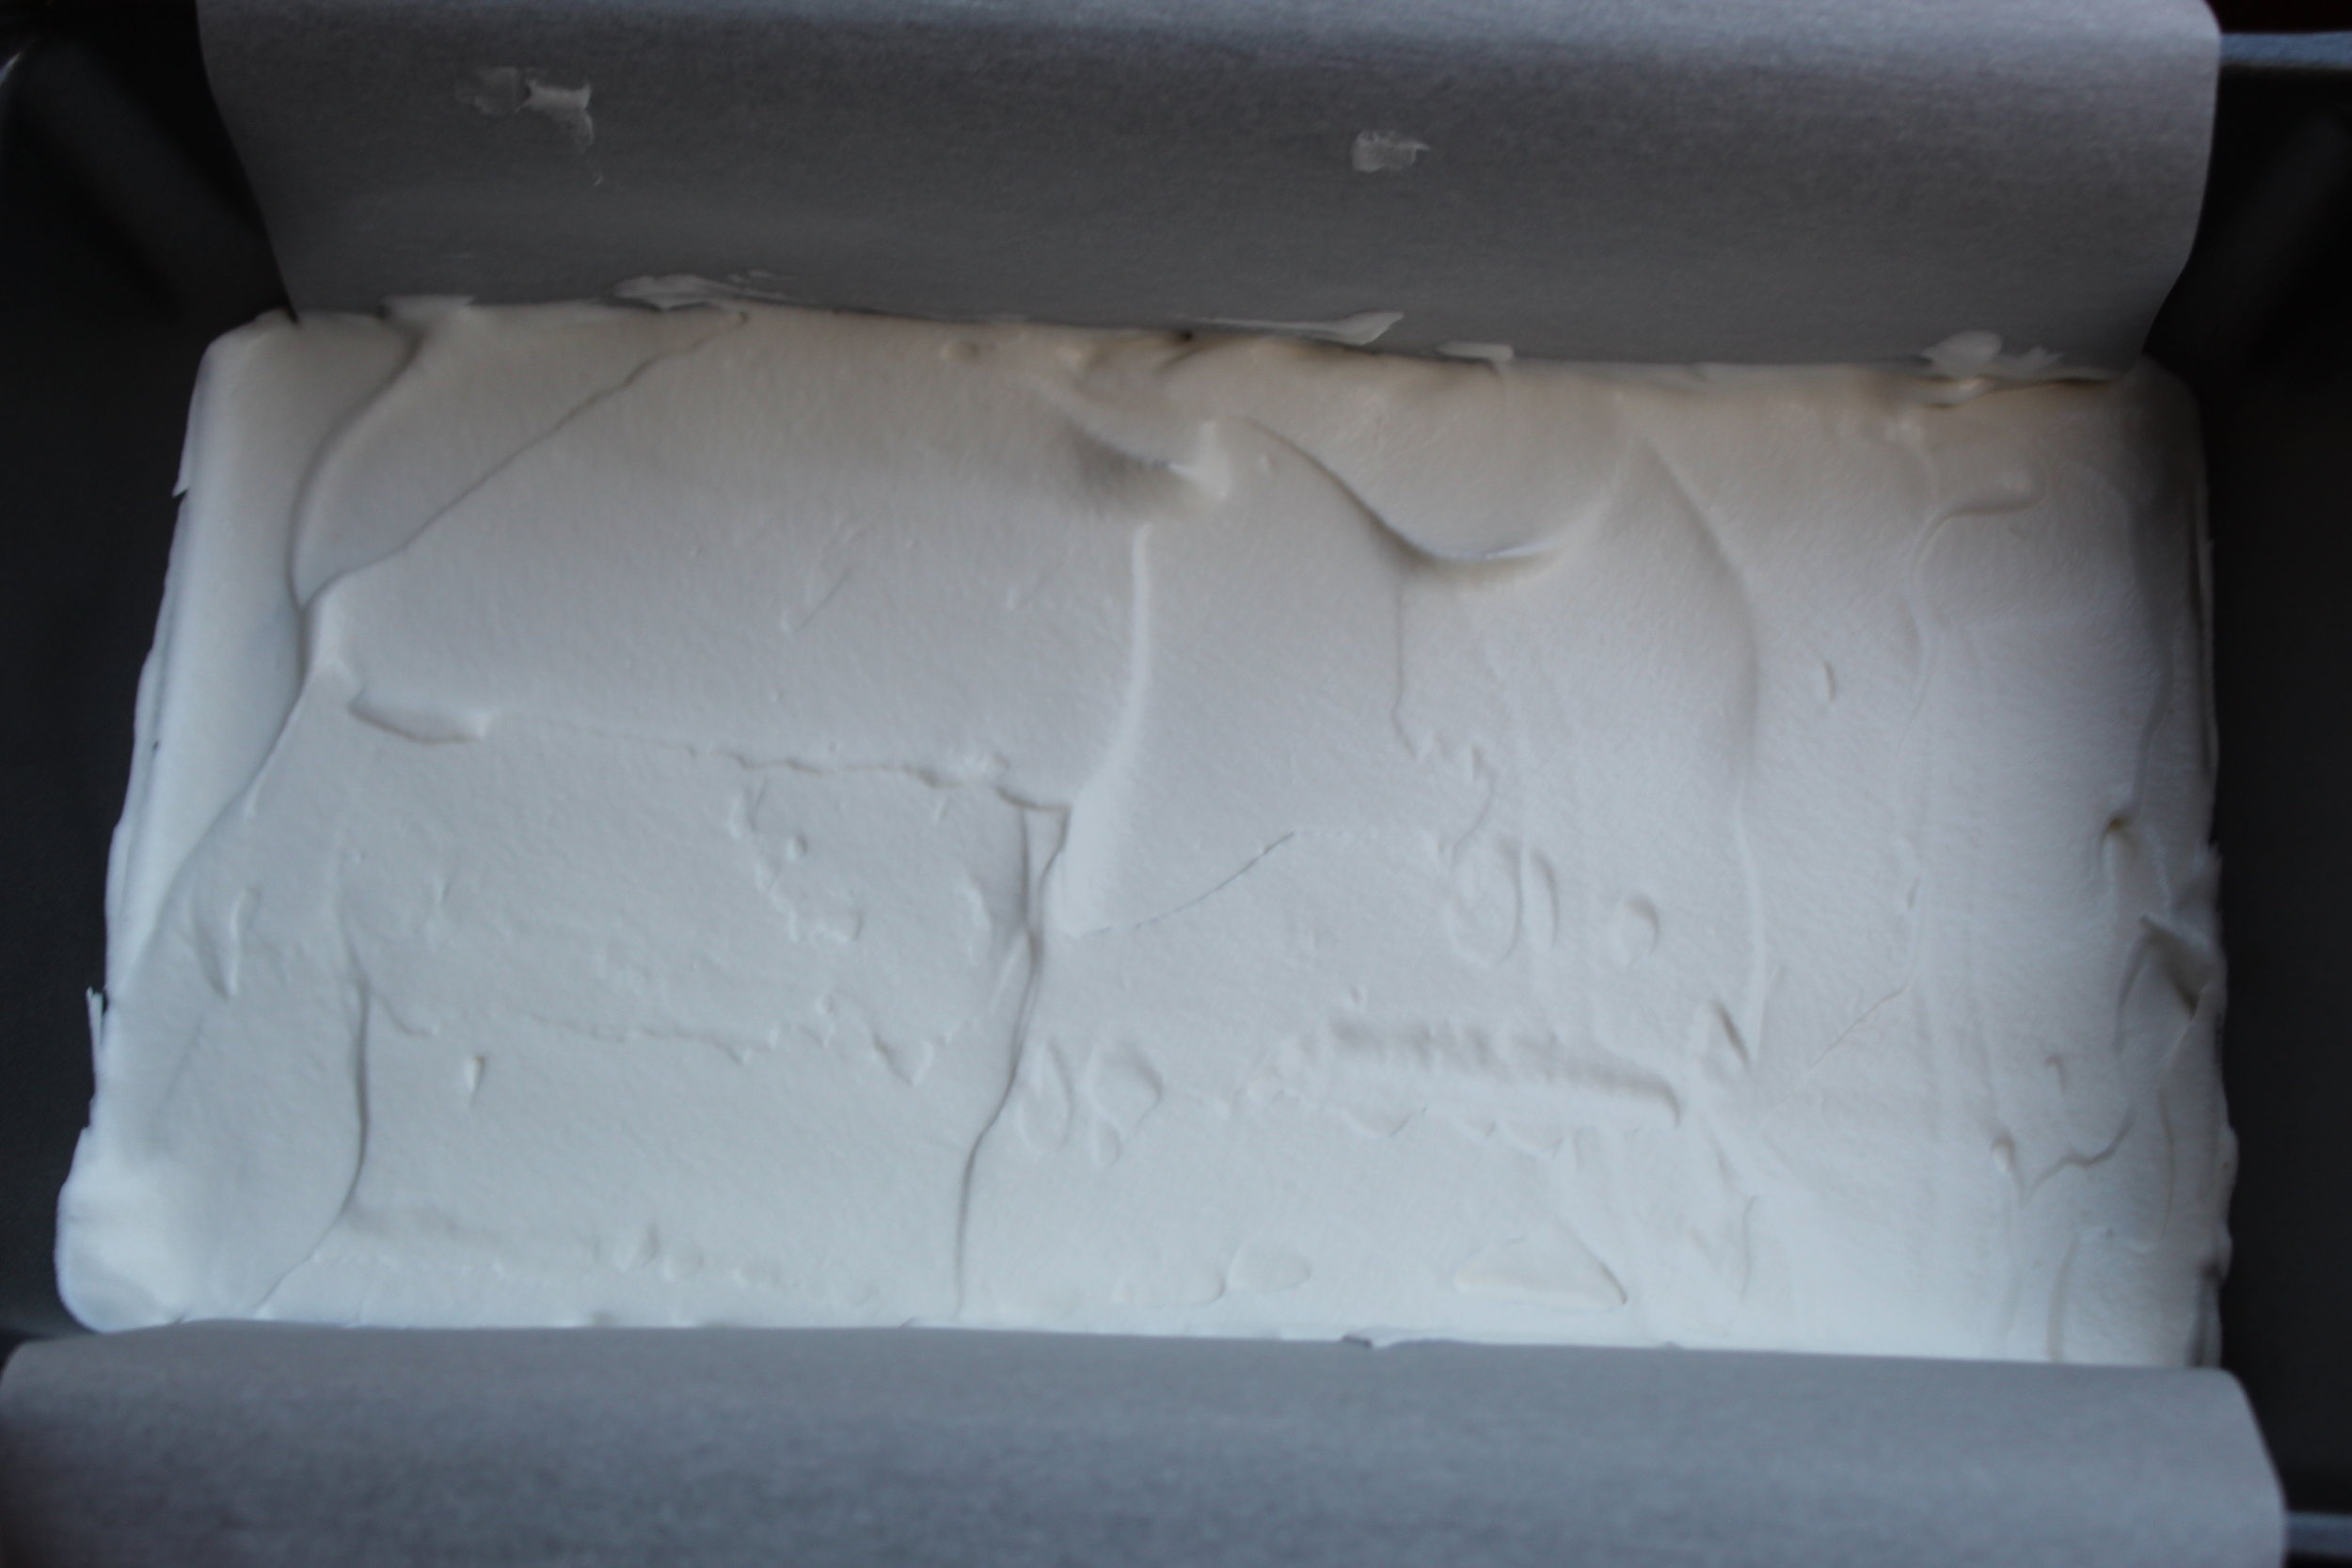
3) To make the whipped cream, use a handheld mixer to whip the heavy cream and fine sugar until light, fluffy, and the cream maintains its shape, about 3-5 minutes. Store the whipped cream in the refrigerator until ready to use.
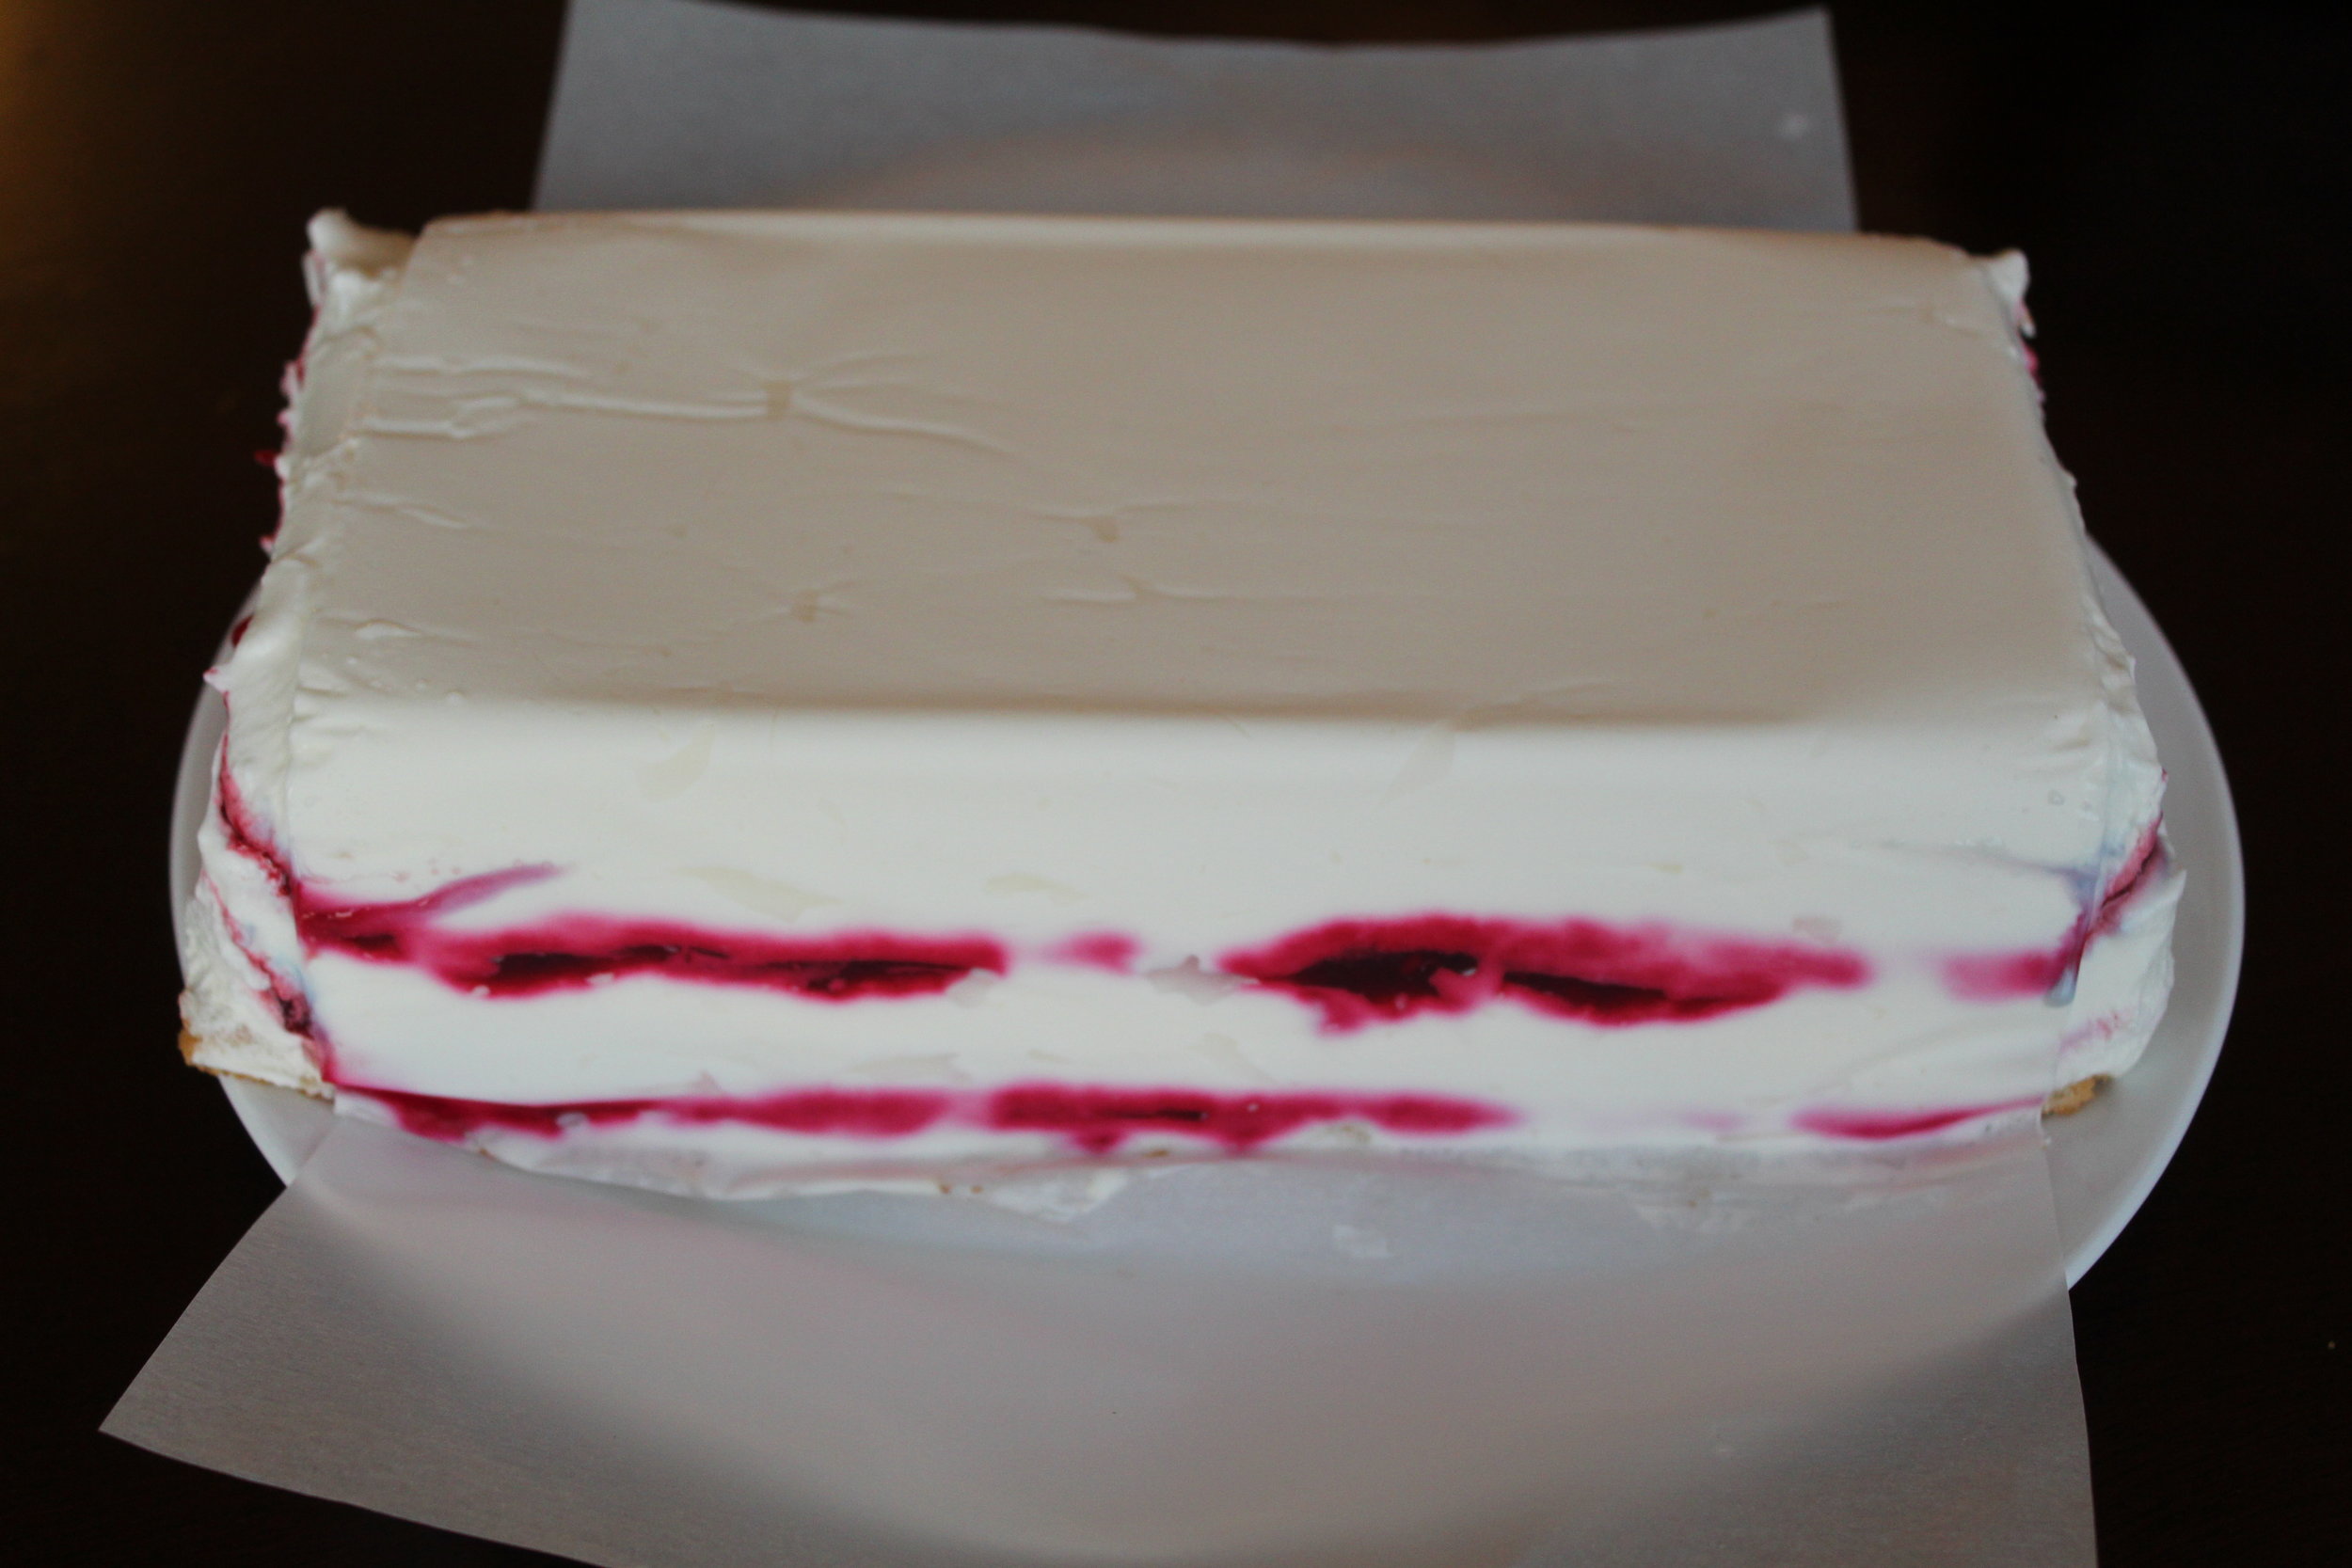
4) To assemble the cake, start with a layer of whipped cream, followed by vanilla wafers. Add more whipped cream, blackberry jam, whipped cream, and vanilla wafers. Continue layering until you reach your desired number of layers for the cake. Try to leave a small border of cream around the edge of the cake.
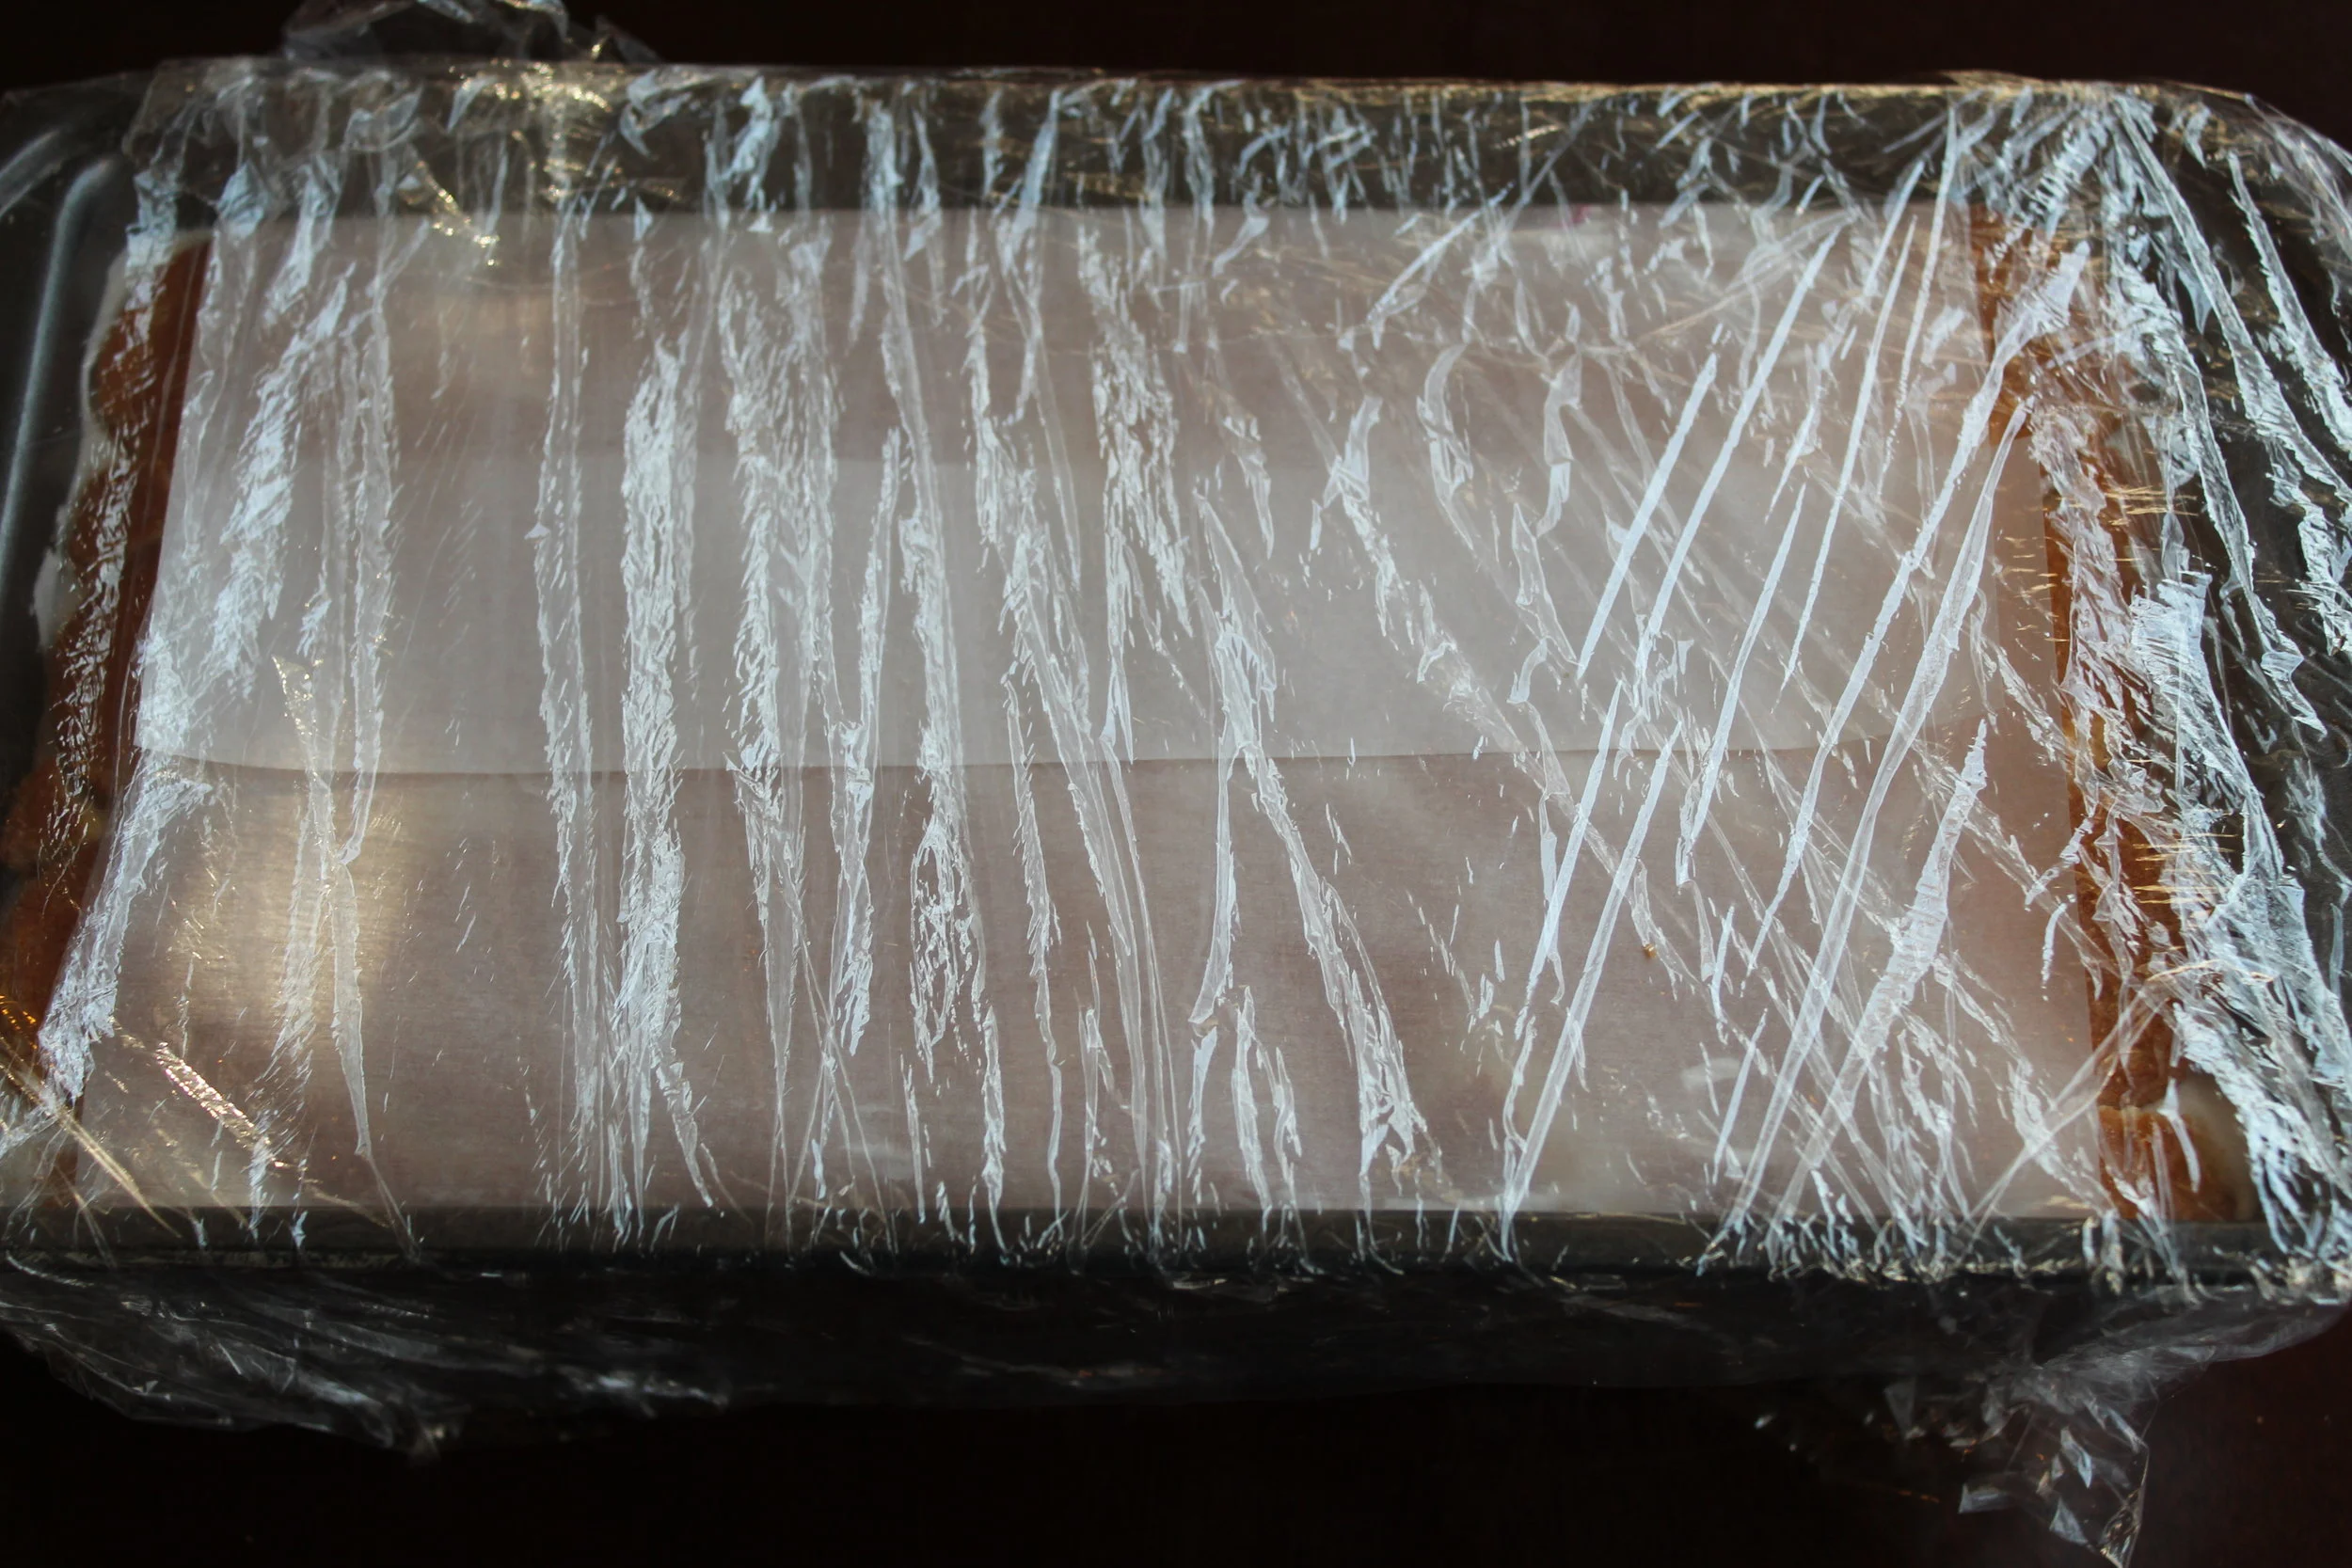
5) Store the cake in the freezer. Let the cake chill overnight (or for at least eight hours) before serving. To serve, gently pull on the sides of the parchment paper to loosen up the cake. Place a plate on the top of the loaf pan and flip the cake around. As an optional step, decorate the cake with fresh blackberries.
Takeaways: You can substitute the blackberry jam with any fruit jam of your choice. For a quicker icebox cake, you can use store-bought fruit jam of your choice. Instead of lemon, you can also use orange juice and zest to make the jam.